

Ingredients
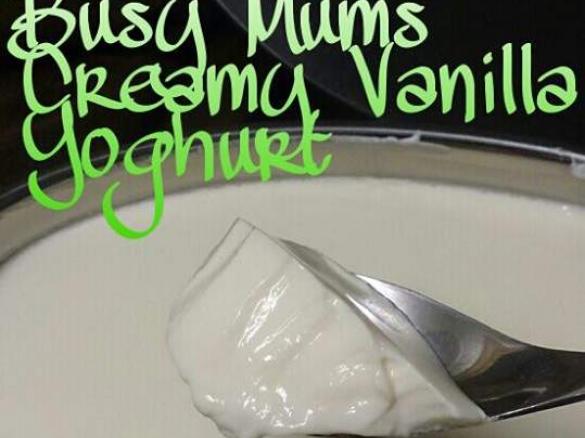
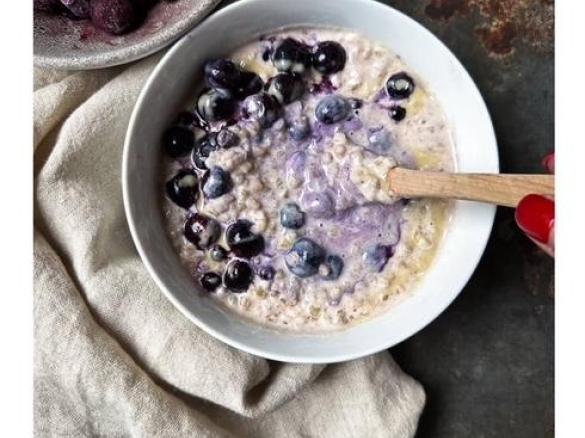
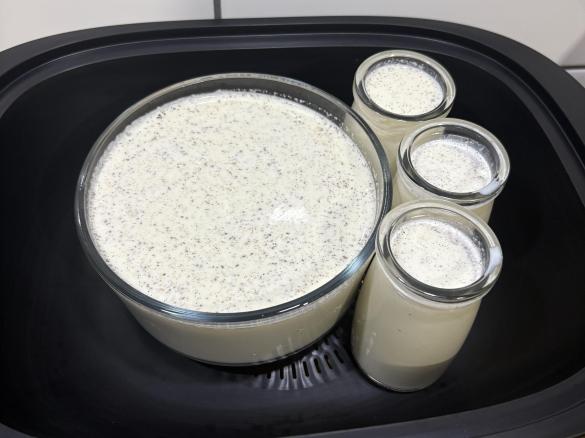
Busy Mums Creamy Vanilla Yoghurt
- 1500 grams Milk
- 100 grams milk powder
- 80 grams sugar
- 1 teaspoon vanilla extract/essence/paste
- 6 tablespoons Starter Yoghurt
Accessories you need
-
 Spatula TM5/TM6
Share your activity
I'm cooking this todayRecipe's preparation
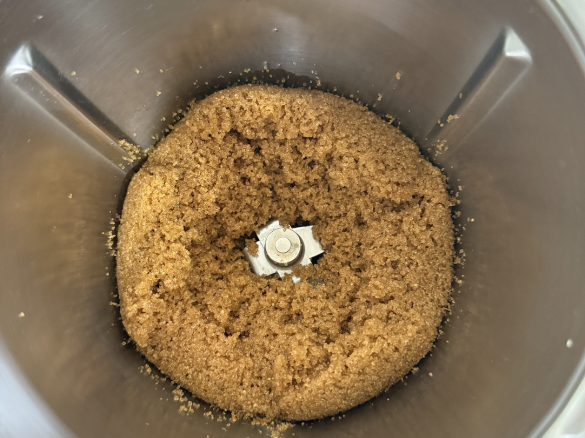
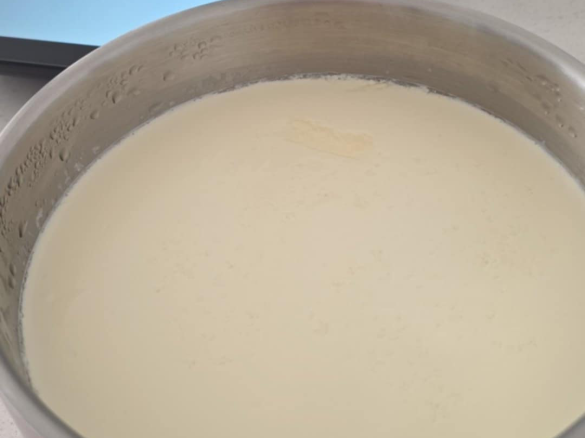
1. Place milk, milk powder, sugar and vanilla into TM Bowl. Mix 10sec/Sp6
2. Cook 33min/90deg/Sp3
3. Place milk mixture in bowl with lid on in fridge overnight
4. In the morning, take your milk mixture out of the fridge and Cook 3-4min/37deg/Sp3. (The 37deg light must stop flashing to ensure it has reached 37deg before next step, cook for a little longer if needed)
5. Add 6 tablespoons of starter yoghurt (This is natural pot set yoghurt, or reserve 6 tablespoons of your finished product to use as starter yoghurt for your next batch)
6. Mix 4sec/Sp4
7. Cook 10min/37deg/Sp3 While this is cooking, boil your kettle and put boiling water in Thermoserver to preheat. Empty water and quickly dry Thermoserver)
8. Pour mixture into Thermoserver,put lid on Thermoserver, wrap in a thick towel and leave to sit undisturbed for 9.5 hours. (at least 8hours, I like to leave mine for 9.5hours) I leave mine in my oven away from little fingers and sticky beaks

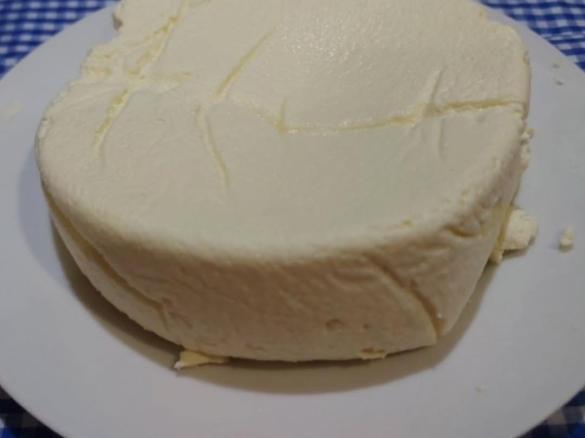
9. Once set place in refrigerator to chill before eating.
Busy Mums Creamy Vanilla Yoghurt

Tip
Make sure you start with a very clean TM bowl. You can add or reduce sugar to suit your taste. You could remove sugar and vanilla to make Natural Yoghurt. Do not be tempted to peak into the Thermoserver while the yoghurt is setting, do not touch it at all. This is a great recipe to cook after dinner, put in the fridge overnight and take out in the morning to do the final cooking steps before leaving to sit for 9.5hours. No waiting around for the temps to drop etc. I take out 6 tablespoons of yoghurt once it has set, and put that in a separate container in my fridge so it doesn't accidentally get gobbled up!
Thermomix Model
-
 Recipe is created for
TM 31

This recipe was provided to you by a Thermomix ® customer and has not been tested by Vorwerk Thermomix ® or The Mix Australia Pty Ltd and The Mix New Zealand Ltd.
Vorwerk Thermomix ® and The Mix Australia Pty Ltd and The Mix New Zealand Ltd assume no liability, particularly in terms of ingredient quantities used and success of the recipes.
Please observe the safety instructions in the Thermomix ® instruction manual at all times.


Comments
Wonderful i followed the easy instructions and it worked perfectly. Thank you. I have now passed on to lots of my friends")
")
I'm brand new to thermomix so sorry if this is a silly question. If I half the ingredients, do I also half the starter and lastly, will the timings and settings remain the same. Thanks for your help I look forward to trying this.
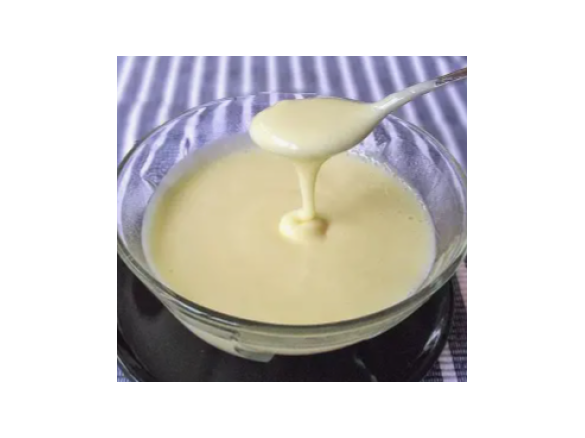
I've tried 3 other yogurt recipes and I've found that this is by far the best and most reliable. So thick and creamy, not overly sweet. Just gorgeous..... Does it work just as reliably if when the amounts are halved? Just wondering if it affects the cultering in the thermoserver at all.
This is yum! I was a bit worried at first wondering whether I had made it right, no need to worry it was lovely and creamy. I am trying to convert my husband from commercial yoghurt to homemade, he thinks its not sweet enough. I have noticed the longer the yoghurt is kept the more tart it becomes not sure why.I would like to freeze some yoghurt in small containers but would like to know what it is like when thawed out. I might have to make half recipe next time because it wont get eaten in a week. Also I have noticed very tiny lumps in the yoghurt almost like a grainy look if that makes sense, but it doesn't feel grainy on the tongue. Thank you for sharing this recipe I will be making it regular and maybe a bit sweeter so my husband will eat it and will use vanilla bean seeds next time.
Thanks for your feedback. I'll give it another go and let you know how batch two goes!")
Sorry forgot to answer about the jug into the fridge. .. I pop it straight into the fridge, I don't let it cool down first.
Hi there! I've never added fruit until actually serving the yoghurt. You would need plain yoghurt without the fruit for the starter I would imagine. I've never encountered a scrambled egg consistency, I'm wondering if that's just from stirring the whey in? Mine is thick and creamy the whole way through. Sorry I'm not much help to you
Hi, I've just made your yoghurt for the very first time. I have a few questions for you..... Do you put the thermomix jug straight into the fridge (step 3) after heating the milk or do you let the milk cool first? My yoghurt looked nice and thick when I first unwrapped it from the towel. I added some frozen berries through it before chilling in the fridge. Underneath the thick top the yoghurt was runny and looked like it had a scrambled egg like texture to it. Is this normal? Have I done something wrong or will it get thicker like your photo the more yoghurt I make from the starter? Also can you use yoghurt with fruit added as a starter or does it have to be plain? My yoghurt tastes nice, I just don't like the appearance so much. Any ideas?")
Hi there, sorry the original recipe was based on using the TM31. You just need to make sure the temperature is at 37 degrees") once it reaches 37 degrees you are good to go, it won't over cook it as long as it doesn't go above that temperature
once it reaches 37 degrees you are good to go, it won't over cook it as long as it doesn't go above that temperature ")
Hi. I have made this a few times snd has worked out everytime but can you please explain me what it means when the 37d stops flashing. The only thing that flashes on tm5 are the green lights that never stop flashing. And there is the 'C sign below the number that flashes. Ive just noticed now because i am making it that the 'C sign has stopped flashing and the temp bar has a small blue line because its been cooking for 10min.
Last time i did make this i think i over cooked the initial part because i was waiting for something to stop flashing to make sure it reached 37 but nothing did.
Thanks.